Nutty chocolate chunk cookies

Nutty chocolate chunk cookies

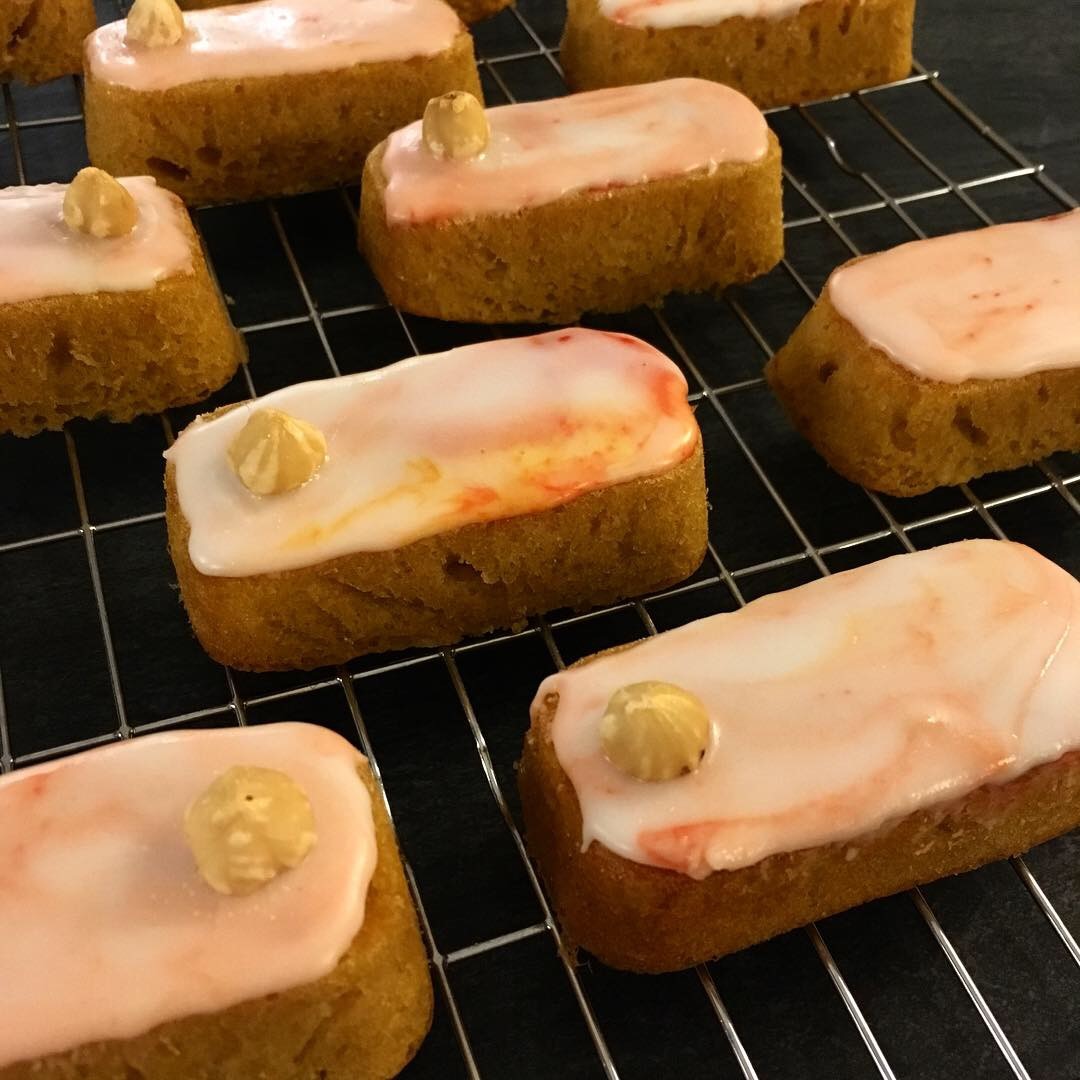
I’d like to start this post by apologising to my followers- two cookie recipes in a row might seem excessive. Rest assured, these recipes are pretty different. The papaya and coconut biscuits which I posted yesterday are firm and slightly crumbly, with tropical flavours. These are closer to an American cookie, softer and cakier, with crunchy nuts and caramelised chocolate chunks.

I used what’s known as ‘blonde’ chocolate in this recipe. It’s a white chocolate which has a lovely caramel appearance and taste. I actually used a bar which already had almonds and hazelnuts in it, which made the prep for these cookies very easy. I found this in my local supermarket, but you could always replace the chocolate and nuts with your own preferences.

Nutty chocolate chunk cookies

I tempered the sweetness of the chocolate and added a depth of flavour with a little coffee extract. This paired really well with the chocolate and the nuts. You may be able to find this in the supermarket, online, or in baking shops. A little goes a long way, and I didn’t want coffee to be the dominant flavour, so I used it as I would use a vanilla essence.

In this recipe I tried a few tricks from the blog Meaningful Eats. I’m not very practised in biscuits so I thought a bit or prior research wouldn’t hurt!

These biscuits turned out a bit pale (happens a lot with gluten free baking) but they’re soft and tasty with a great biscuit to chunk ratio!

Nutty chocolate chunk cookies

Nutty chocolate chunk cookies (makes 12)

210g gluten-free plain flour

30g ground almonds

110g brown sugar

55g white sugar

110g butter

1 egg

1 tbsp milk

2 tsp vanilla extract

2 tsp coffee extract

1 tsp baking powder

135g nuts and chocolate, roughly chopped

  1. Mix the flour, ground almonds and baking powder together.
  2. Melt the butter.
  3. Mix the sugar, egg, milk and extracts into the melted butter. Add this mixture to the dry mixture and stir to combine.
  4. Cover the bowl and leave to sit for half an hour. This will allow the dough to firm up a bit.
  5. In the meantime, preheat the oven to 160 degrees and line two oven trays with baking paper.
  6. I used an ice cream scoop to measure out the dough into equal portions. The dough isn’t terribly firm and may be a bit sticky but do your best to wrangle it into a circle. My cookies didn’t spread too much so you can put them close together.
  7. Bake for 12-15 minutes until they’re lightly golden and not sticking to the paper.

Hazelnut and Orange Blossom cakes

Hello all. I hope you’re well! I know that I haven’t shown any signs of life since Christmas (have any of us?) but I’m here today with a recipe and a hope- that this blog won’t wilt and die like the few houseplants I’ve owned.

I do feel more positive about this enterprise though. I’m always going to bake, and so I might as well carry on with the blog! It pushes me to go that bit further (this sometimes leads to existential baking crises in Lakeland, but it’s all in good fun! I’m happy!). It also justified me buying a new tin today, which really makes me happy, even though I have absolutely no space left anywhere and far too many tins to begin with.

Hazelnut and Orange Blossom cakes

This tin is silicone with a wire edge which gives it a bit of stability (hallelujah!). I think I’m definitely going to invest in more silicone tins, and I’ll tell you for why (if you care to read). I find that gluten free cakes are often a bit more delicate than their wheaty cousins, and the thin top layer of cake in particular is very liable to peel or flake off, and to be left stuck on metal tins no matter how well you grease them. With silicone tins, these cakes popped out as neat as you please, fully intact. I’m sold!

These cakes also happen to be dairy free as well as gluten free thanks to the fact that we had some dairy-free spread left in the fridge. The sponge has blitzed roasted hazelnuts taking the place of some of the flour, orange zest, and a little orange blossom extract. The sponge is light and moist, with crunchy pieces of hazelnut. I realised upon trying the batter that the way I had put this cake together resembles the composition of a perfume: the hazelnuts provide the rich, deep base note, the orange zest is a middle tone, and the orange blossom water offers a floral, zingy finish.

Hazelnut and Orange Blossom cake

I absolutely love using marbled icing in bakes and I feel it’s worked well here! Please try it and use whichever colours you like, although I do feel that greens can give the impression that the cake is slightly mouldy. That said, do as you feel. I tend to choose my colours to represent the flavours that are in the cake; pink for rose, orange for orange blossom etc etc.

This recipe is fab if you’ve got posh friends you want to impress, or you want something that’s delicate but packs a punch in both flavour and texture. Naturally, you could make these as regular cupcakes, but if you’re an avid baker then maybe get a rectangular tin. I can’t wait to use mine again.

Hazelnut and Orange Blossom cakes

Hazelnut and Orange Blossom Cakes: makes 12 (gluten free, dairy free)

170g dairy-free spread (or butter, if you wish)

110g light brown sugar

110g plain gluten free flour

1 teaspoon baking powder (ensure it’s gluten free)

75g blanched hazelnuts (get chopped if you can)

3 eggs

1 orange

Orange blossom water

200g icing sugar

Food colouring

  1. Preheat the oven to 180 degrees.
  2. Cream the dairy-free spread or butter with the sugar using an electric mixer.
  3. If your hazelnuts are not chopped, chop them in a food processor until you have very small chunks.
  4. Add the chopped nuts, flour, baking powder, eggs, one teaspoon of orange blossom water, and the zest of an orange to the butter mixture and combine using an electric mixer.
  5. Distribute the mixture equally between the sections of the pan.
  6. Bake for 15 minutes.
  7. After a few minutes, pop the cakes out and leave to cool.
  8. To make the icing, combine the icing sugar with two teaspoons or orange blossom water and a little fresh water until you have a thick, runny consistency. The icing should be opaque white.
  9. Leaving the icing in the bowl, add around four dots of pure food colouring. Don’t mix it in! Use a teaspoon to dollop some icing on top of the cake. As you move the icing to cover the cake, the colouring will stretch into the white icing and you will see a marbling pattern. Some cakes will have more marbling than others, and they will all look different.
  10. I had some hazelnuts left over so I finished each cake with a single hazelnut on the side. I think it looks fancy.