Coffee + sesame cakes

Long time, no bake!

I know there’s been quite a long hiatus since my last post. At that time I felt quite creatively blocked- I was putting myself under so much pressure to come up with original recipes and I wasn’t happy with anything I created.

Yesterday I felt an urge to bake and got inspired by the sesame seeds I had in my cupboard. I’d seen a lot of people on Instagram use them in desserts, particularly paired with chocolate. Although it’s a relatively new trend to Western baking, many Asian countries have used sesame in desserts for decades.

Sesame has a sweet, nutty flavour that I wanted to experiment with. I personally can’t tolerate much cocoa due to a medical condition, but I love coffee flavoured desserts. Coffee and chocolate have similar qualities, with deep, roasted flavour notes. So why not coffee and sesame?

I can assure you, this combination really works. The sesame adds a sophisticated depth of flavour to the cake (and makes it seem much fancier than it is). I also added a spoonful of treacle to the batter- I was aiming for a slightly sticky cake, and the deep molasses works well with the other strong flavours. I used golden caster sugar for this recipe, but it would be interesting to see the results with a darker sugar.

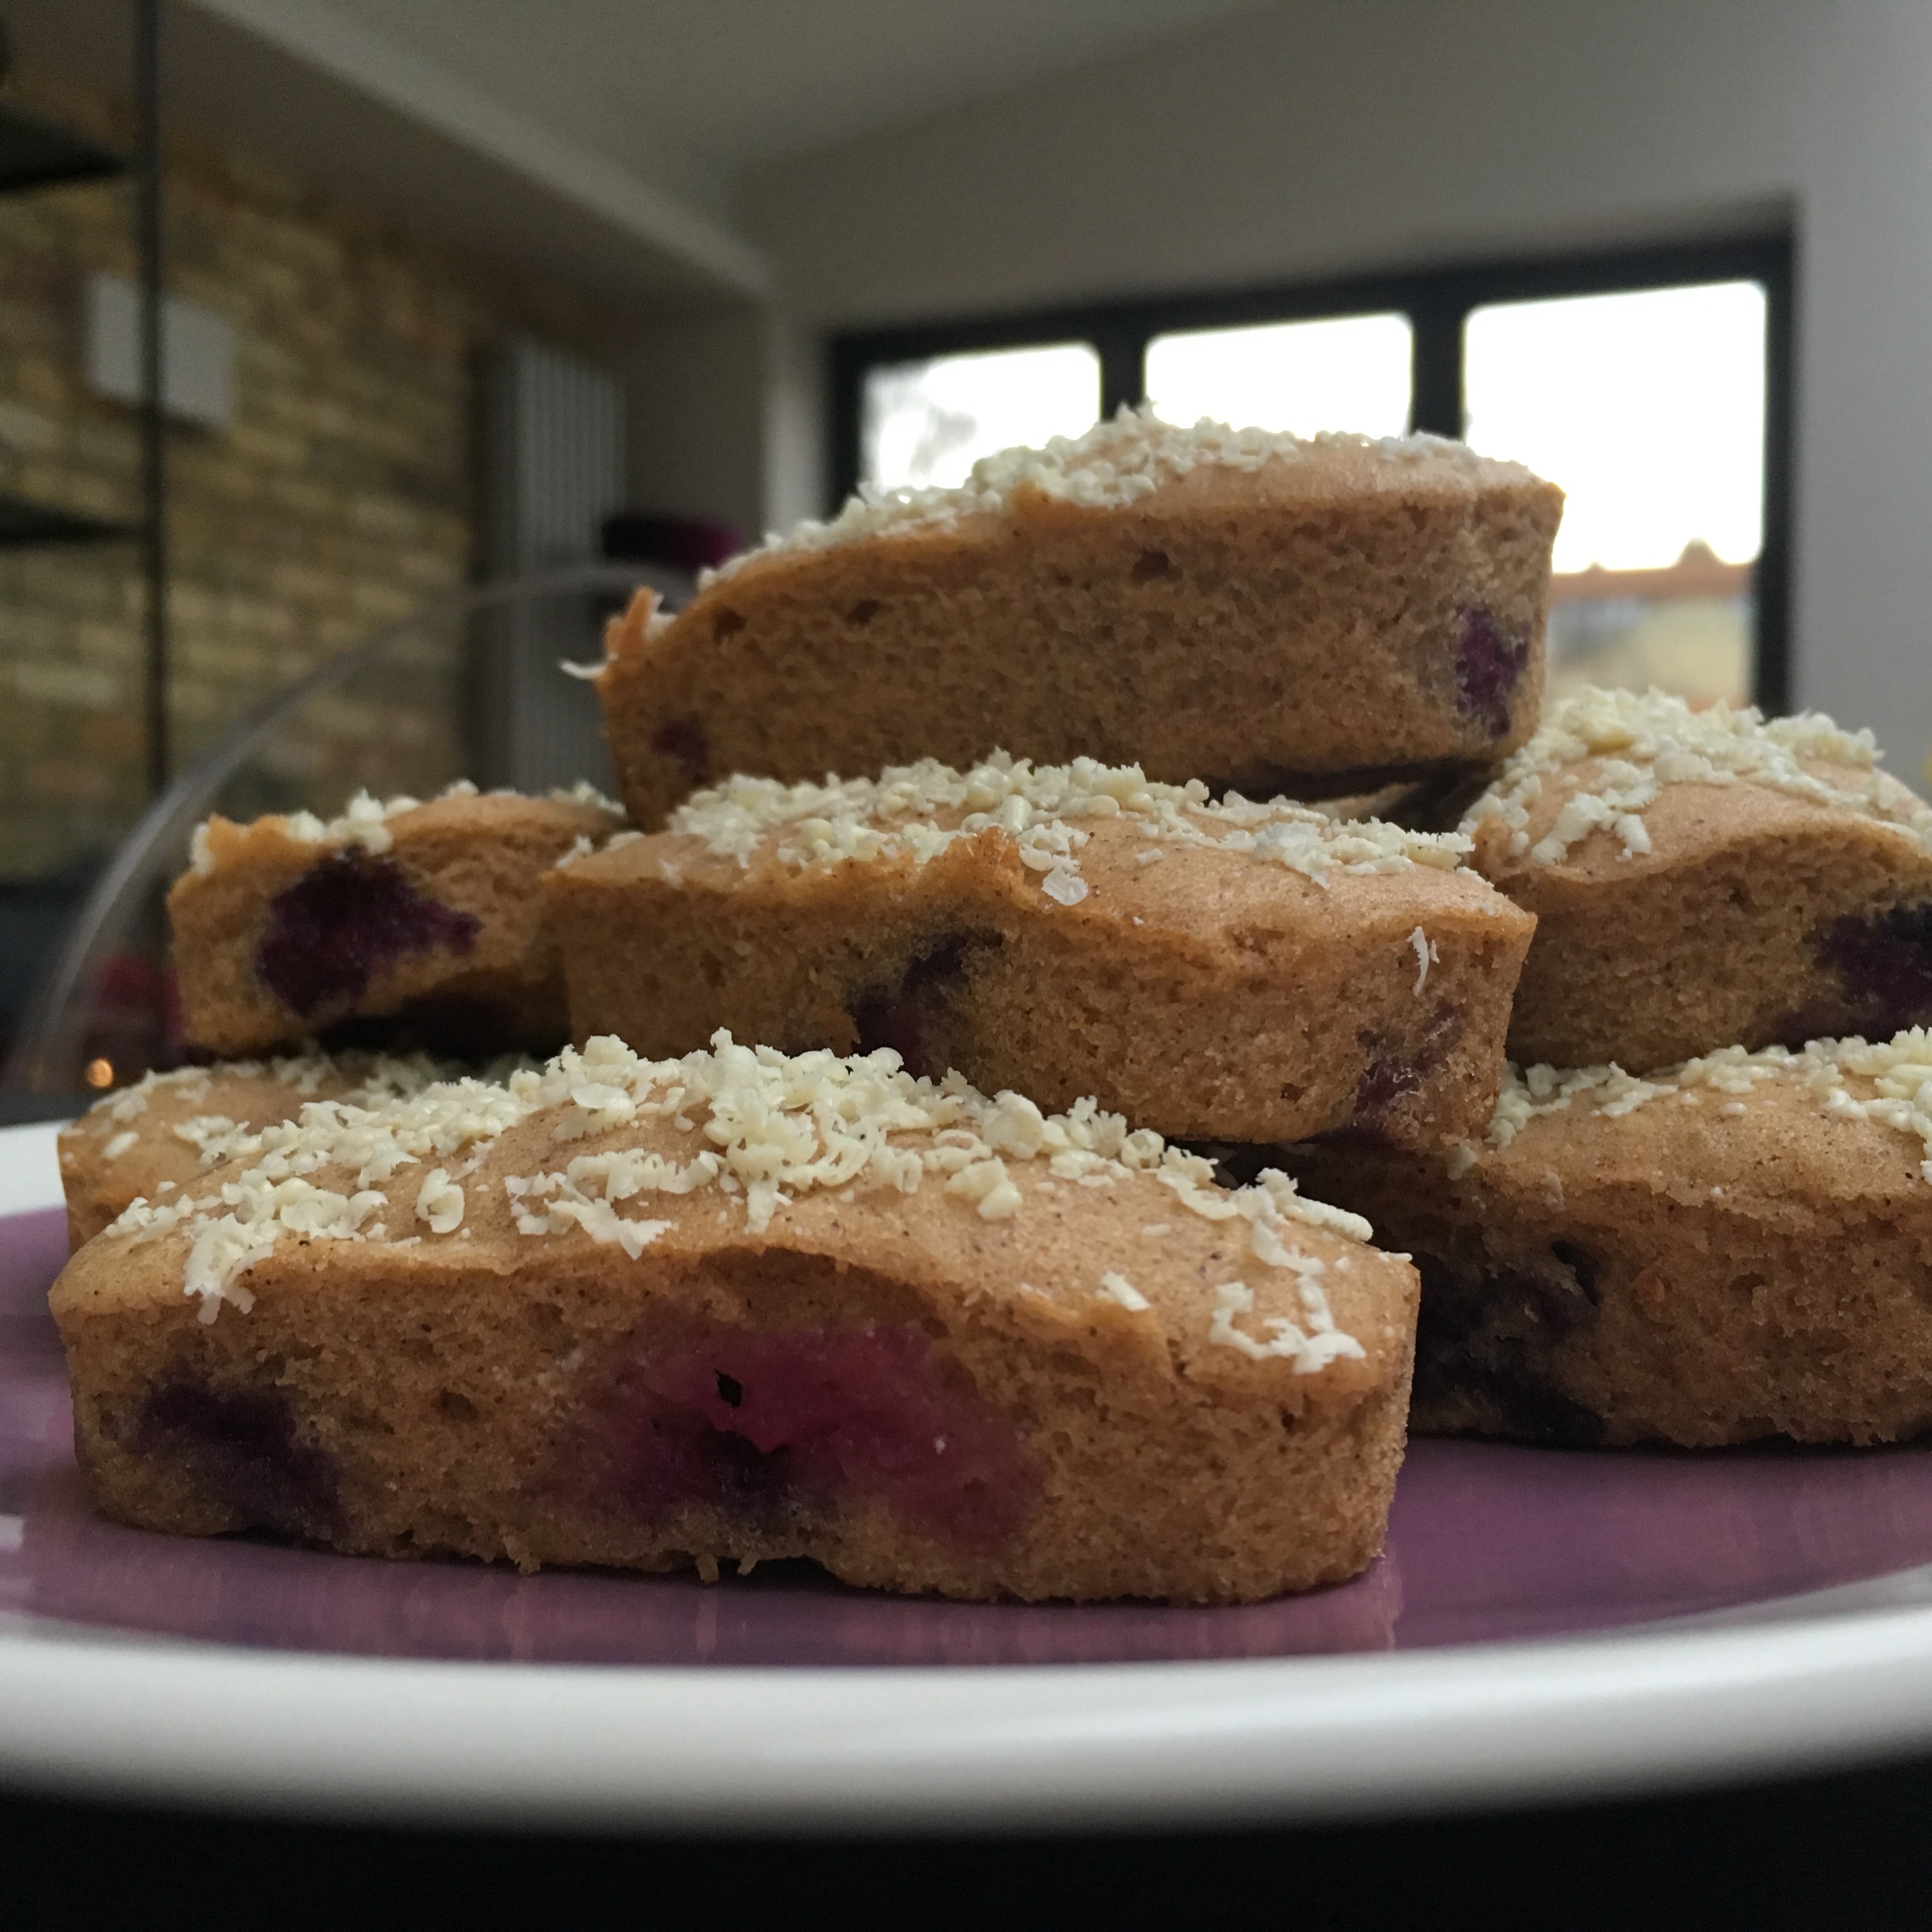
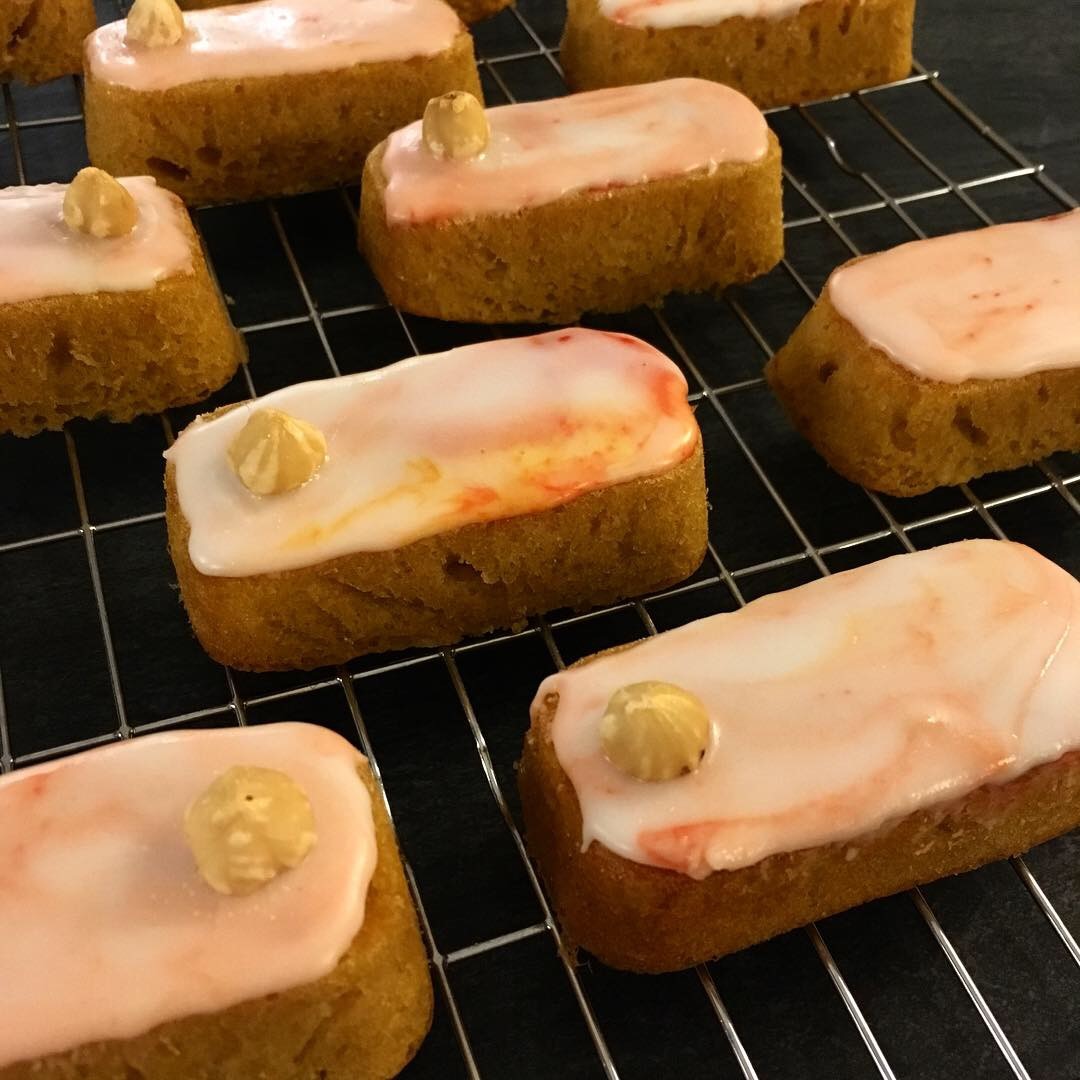
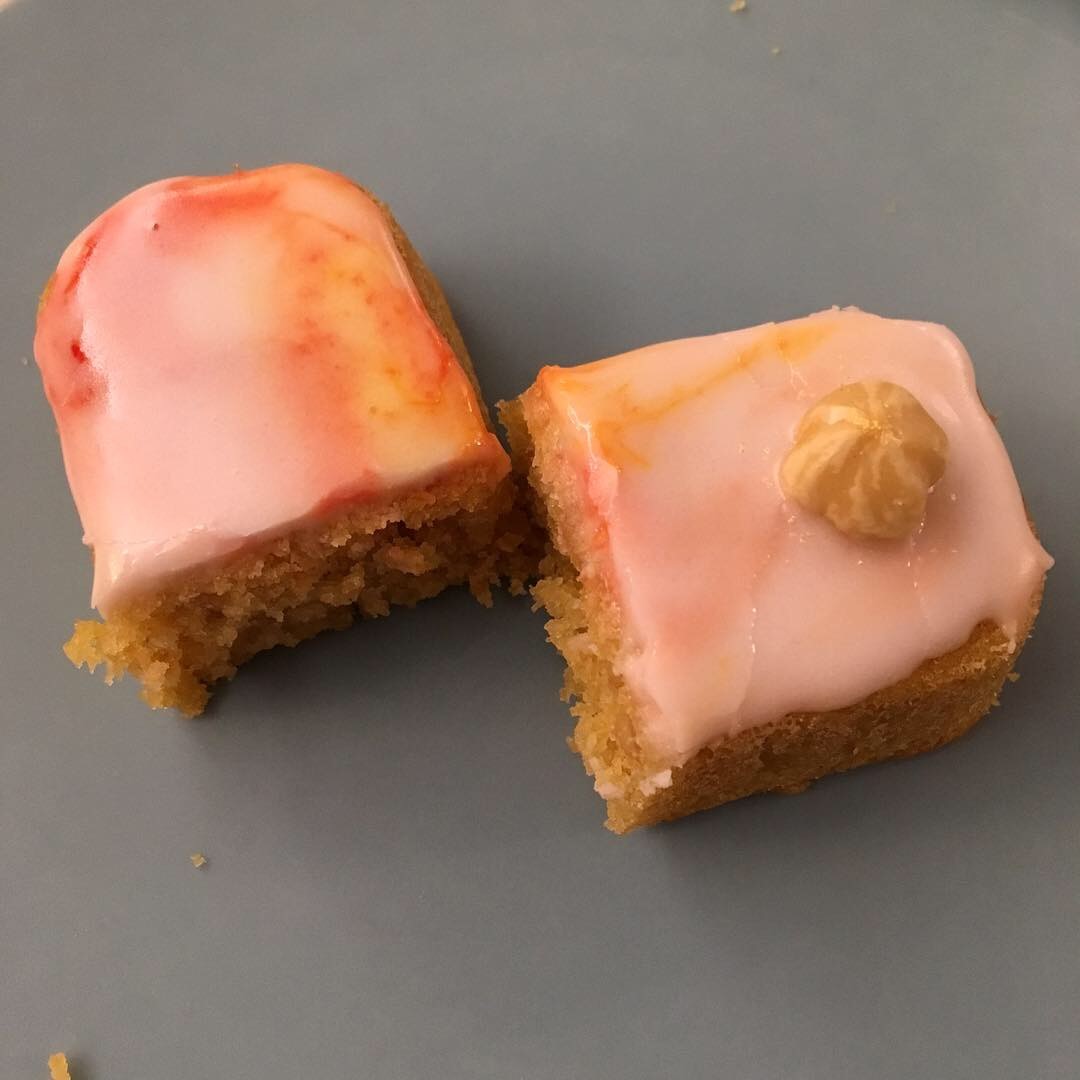
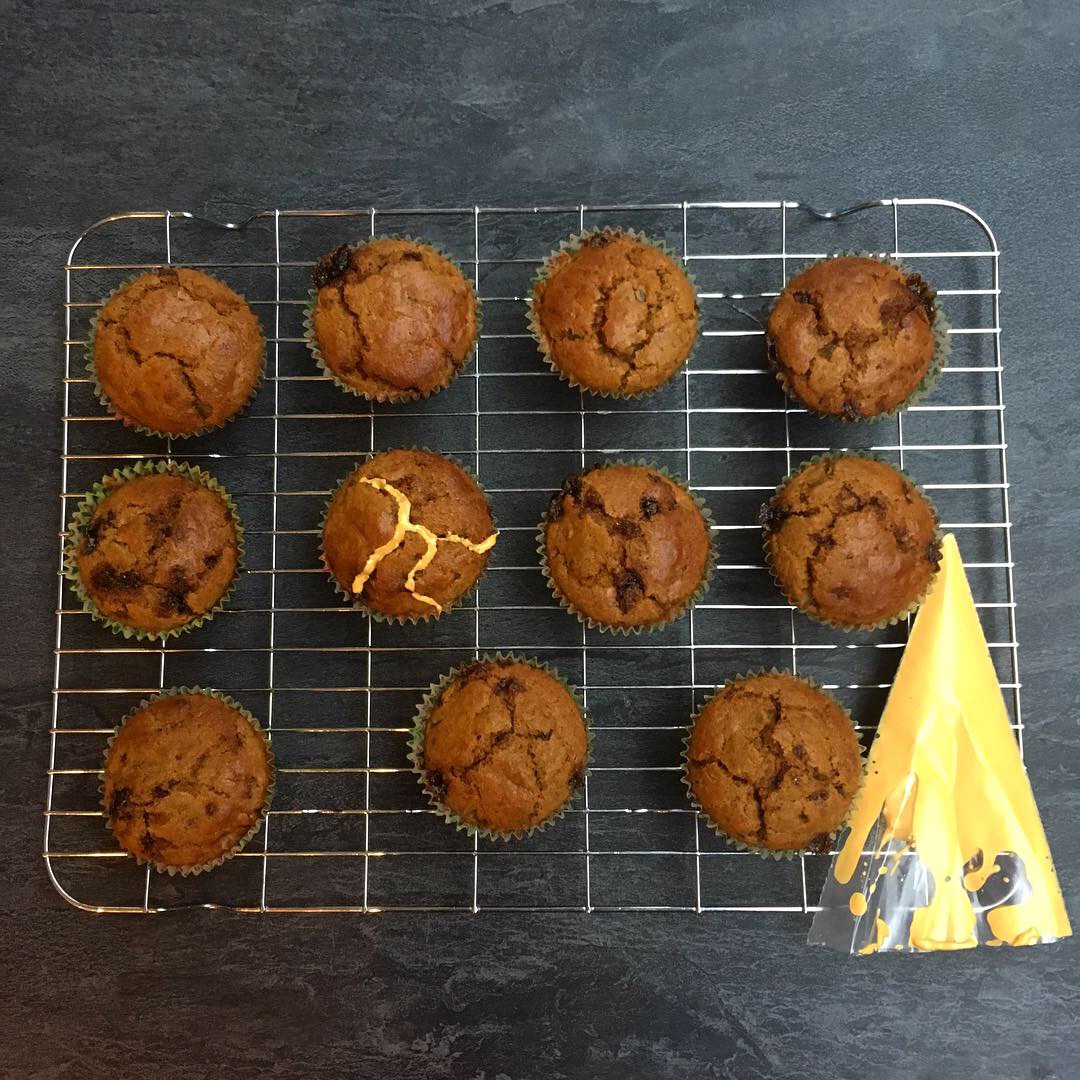
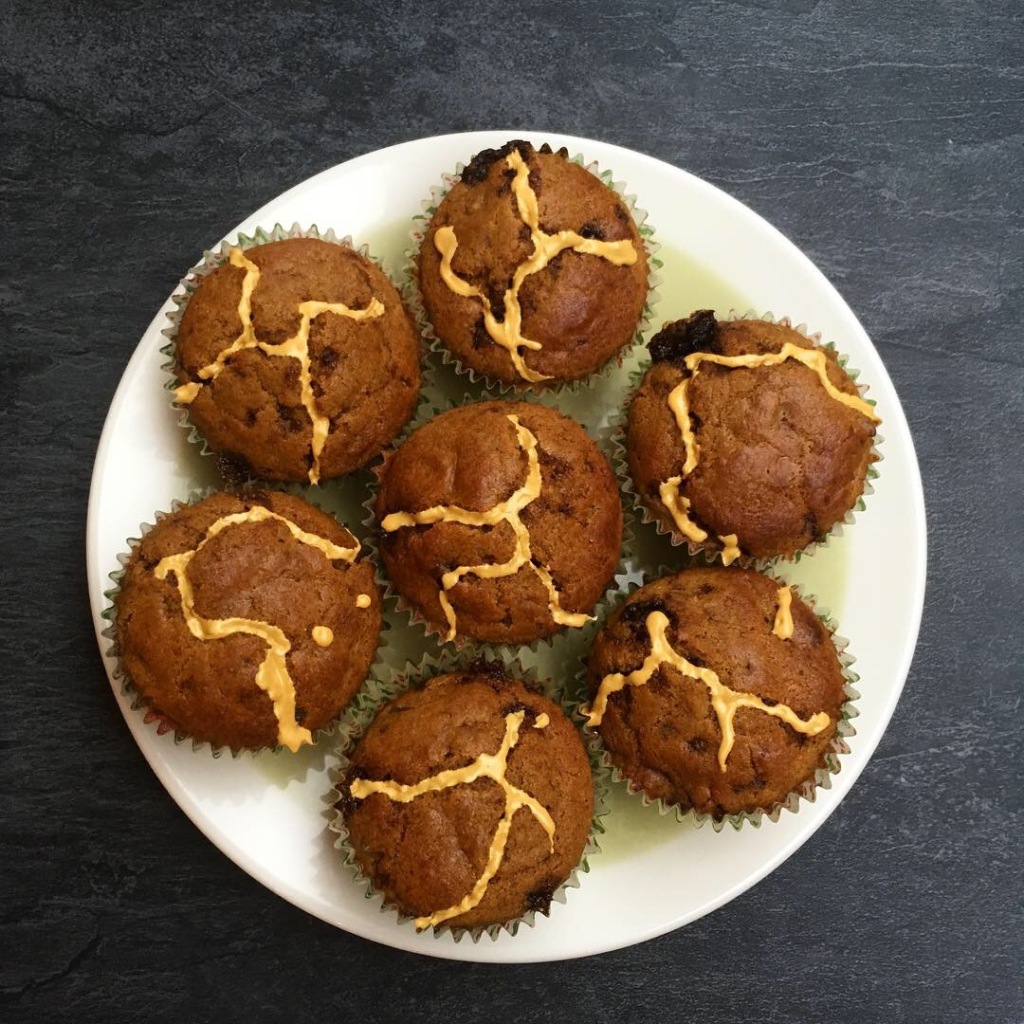
The cake is soft and moist, with a little bit of texture from the seeds flecked through. My boyfriend described the flavours as a rollercoaster; first sesame, then coffee, then sesame again to finish. A little squiggle of chocolate on the top finishes these cakes off, and it works brilliantly with the rest of the flavours. This is one of my new favourite flavour combinations, and I can’t wait to experiment with it more!

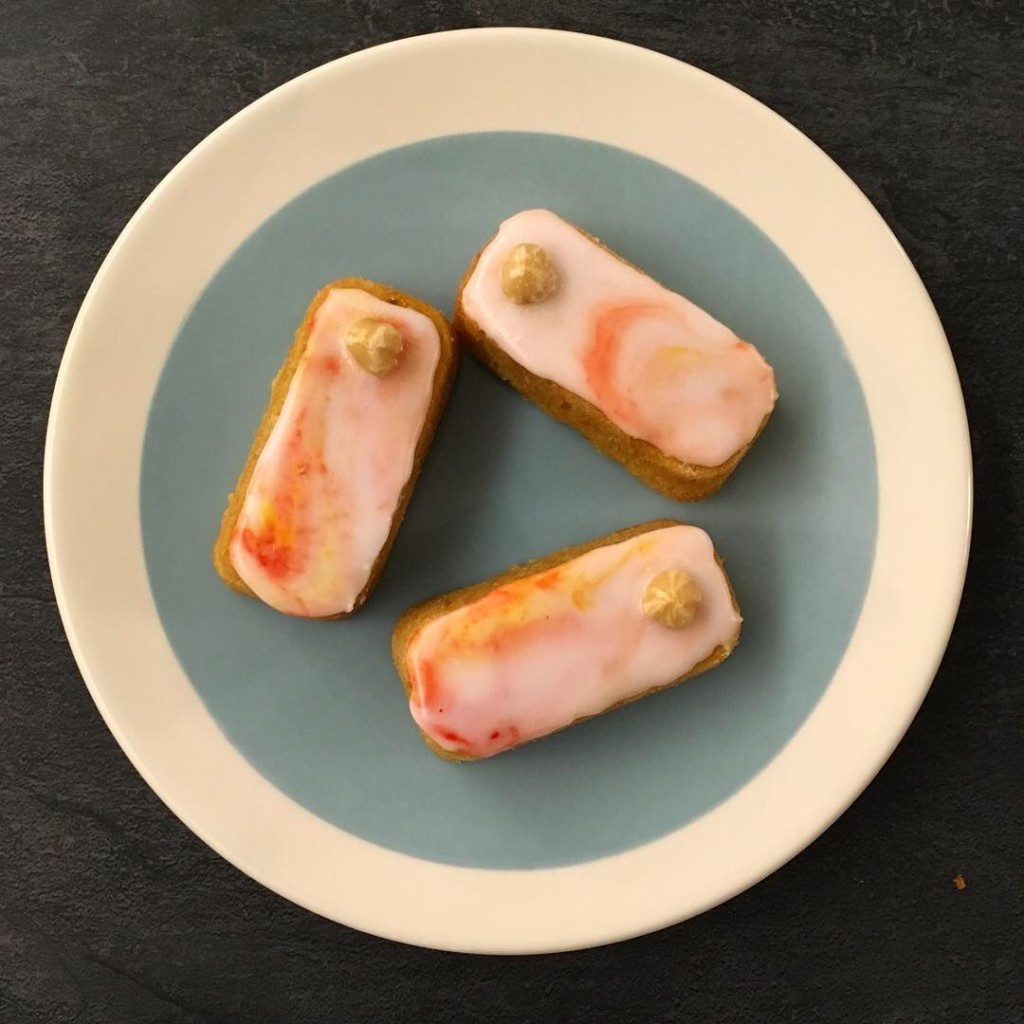
Coffee + Sesame cakes

170g gluten-free self-raising flour

115g golden caster sugar

170g butter or dairy-free spread

1 tbs treacle

1 tbs coffee extract

30g sesame seeds

3 eggs

Chocolate and more sesame seeds for the top

  1. Preheat the oven to 180 degrees fan.
  2. Prepare whatever tin you’re using. This would make a lovely traybake, cupcakes, or possibly a loaf cake. I used my silicone tin with 12 small rectangular holes.
  3. Mix the flour, sugar, butter/spread, treacle, coffee extract, sesame seeds and eggs together thoroughly in a bowl.
  4. When the mixture is smooth and well-combined, place it into your tin and bake for about 15 minutes (depending upon the shape and size of your tin, this is how long mine took). I believe that you can smell when a cake’s ready, but you can always use a toothpick if you don’t trust your nose (an inserted toothpick should come out clean).
  5. When the cake/s are ready, bring them out and allow them to cool in the tray. When cool, drizzle them with a little melted milk or dark chocolate (make sure the chocolate isn’t too hot or runny, allowing it to cool a little will make it easier to pipe) and sprinkle a few more seeds on the top to finish. Enjoy!

Mini jam + coconut sponges

Mini jam and coconut cakes

I like to think of this bake as an exercise in simplicity. In the interests of simplicity, I’ll keep this post short and sweet (just like these cakes!). I saw a picture of a full-sized jam and coconut sponge on instagram recently and it took me back to my school days. Tender golden sponge, a thin layer of jam, and dessicated coconut on top. That’s it. It’s simple but comforting. I’ve made my version here, gluten free and in miniature. Enjoy!

Mini jam and coconut cake

Mini jam + coconut sponges

170g gluten-free self-raising flour

170g butter

110g caster sugar

3 eggs

2 tsp vanilla extract

Your favourite jam (red berry jams are traditional, but any seedless jam will work)

Dessicated coconut

  1. Preheat the oven to 180 degrees and prepare your baking tray. I used cardboard loaf cases which I bought from my local supermarket, but you could also make these as cupcakes.
  2. Cream the butter and sugar together until pale and fluffy.
  3. Add in the eggs, vanilla extract and flour and mix to combine.
  4. Distribute the mix evenly between the cases and bake for 12-15 minutes until the cakes are golden and springy to the touch.
  5. Place the cakes on a cooling rack and warm up some jam in a saucepan. This shouldn’t take long, you just want to loosen it up. Add a thin layer of jam to each cake and sprinkle over the coconut. Et voila!
Mini jam and coconut cakes

Cinnamon + blueberry mini cakes

Cinnamon and blueberry cakes

I first started experimenting with this particular flavour trio (blueberry, cinnamon and white chocolate) when I was young. I remember buying waffles from the supermarket and covering them with a fresh blueberry compote spiked with cinnamon, and then drizzling molten white chocolate over the top. I called them ‘midnight waffles’.

Cinnamon and blueberry cakes

Years later I’ve decided to reunite the trio in cake form. The result is a toothsome cinnamon sponge (I don’t like to go small with spices) with fresh, bursting blueberries and white chocolate grated on top. I think this looks sweet, you may think it looks like toenail clippings. You could always drizzle melted chocolate instead, or even put chocolate chunks into the sponge along with the blueberries.

Cinnamon and blueberry cakes

Cinnamon + blueberry mini cakes

110g Gluten free self-raising flour

110g softened butter

2 eggs

55g light brown sugar

One handful fresh blueberries

3 tsps ground cinnamon

1 tsp vanilla extract

1 bar white chocolate

  1. Preheat the oven to 160 degrees.
  2. Cream the butter and sugar together until pale and fluffy, then add the other ingredients (except the blueberries) and mix to combine.
  3. Gently fold the blueberries into the mix.
  4. Distribute the mixture and bake for around 12 minutes (times may vary depending on your tin).
  5. Extract your cakes from the tin whilst they are warm but not hot, and grate the chocolate over them (if desired). If the cakes become too cool the chocolate will not stick to their surface.

Hazelnut and Orange Blossom cakes

Hello all. I hope you’re well! I know that I haven’t shown any signs of life since Christmas (have any of us?) but I’m here today with a recipe and a hope- that this blog won’t wilt and die like the few houseplants I’ve owned.

I do feel more positive about this enterprise though. I’m always going to bake, and so I might as well carry on with the blog! It pushes me to go that bit further (this sometimes leads to existential baking crises in Lakeland, but it’s all in good fun! I’m happy!). It also justified me buying a new tin today, which really makes me happy, even though I have absolutely no space left anywhere and far too many tins to begin with.

Hazelnut and Orange Blossom cakes

This tin is silicone with a wire edge which gives it a bit of stability (hallelujah!). I think I’m definitely going to invest in more silicone tins, and I’ll tell you for why (if you care to read). I find that gluten free cakes are often a bit more delicate than their wheaty cousins, and the thin top layer of cake in particular is very liable to peel or flake off, and to be left stuck on metal tins no matter how well you grease them. With silicone tins, these cakes popped out as neat as you please, fully intact. I’m sold!

These cakes also happen to be dairy free as well as gluten free thanks to the fact that we had some dairy-free spread left in the fridge. The sponge has blitzed roasted hazelnuts taking the place of some of the flour, orange zest, and a little orange blossom extract. The sponge is light and moist, with crunchy pieces of hazelnut. I realised upon trying the batter that the way I had put this cake together resembles the composition of a perfume: the hazelnuts provide the rich, deep base note, the orange zest is a middle tone, and the orange blossom water offers a floral, zingy finish.

Hazelnut and Orange Blossom cake

I absolutely love using marbled icing in bakes and I feel it’s worked well here! Please try it and use whichever colours you like, although I do feel that greens can give the impression that the cake is slightly mouldy. That said, do as you feel. I tend to choose my colours to represent the flavours that are in the cake; pink for rose, orange for orange blossom etc etc.

This recipe is fab if you’ve got posh friends you want to impress, or you want something that’s delicate but packs a punch in both flavour and texture. Naturally, you could make these as regular cupcakes, but if you’re an avid baker then maybe get a rectangular tin. I can’t wait to use mine again.

Hazelnut and Orange Blossom cakes

Hazelnut and Orange Blossom Cakes: makes 12 (gluten free, dairy free)

170g dairy-free spread (or butter, if you wish)

110g light brown sugar

110g plain gluten free flour

1 teaspoon baking powder (ensure it’s gluten free)

75g blanched hazelnuts (get chopped if you can)

3 eggs

1 orange

Orange blossom water

200g icing sugar

Food colouring

  1. Preheat the oven to 180 degrees.
  2. Cream the dairy-free spread or butter with the sugar using an electric mixer.
  3. If your hazelnuts are not chopped, chop them in a food processor until you have very small chunks.
  4. Add the chopped nuts, flour, baking powder, eggs, one teaspoon of orange blossom water, and the zest of an orange to the butter mixture and combine using an electric mixer.
  5. Distribute the mixture equally between the sections of the pan.
  6. Bake for 15 minutes.
  7. After a few minutes, pop the cakes out and leave to cool.
  8. To make the icing, combine the icing sugar with two teaspoons or orange blossom water and a little fresh water until you have a thick, runny consistency. The icing should be opaque white.
  9. Leaving the icing in the bowl, add around four dots of pure food colouring. Don’t mix it in! Use a teaspoon to dollop some icing on top of the cake. As you move the icing to cover the cake, the colouring will stretch into the white icing and you will see a marbling pattern. Some cakes will have more marbling than others, and they will all look different.
  10. I had some hazelnuts left over so I finished each cake with a single hazelnut on the side. I think it looks fancy.

Kintsugi-inspired gingerbread buns

Every baker knows that things don’t always go to plan. This might be through fault of our own, the recipe which we were following, or from any other number of factors. In recent days I’ve been thinking about this blog and how-so far- nothing has seemed to go too wrong. I knew it would only be a matter of time before I would pull something from my oven that I wasn’t entirely happy with.

I am an amateur baker, and although I want to provide helpful, tasty recipes, I also want to show what happens when things don’t turn out as you expected, or hoped. Sometimes you come out with something that’s completely inedible. I’ve been baking for years and this still happens to me. Sometimes, however, you come out with something which could be great, with a bit of inspiration.

I’d been struggling with deciding what to make today and eventually decided to make some gingerbread buns. I pictured plump, even, golden brown buns which I would decorate with pretty white icing swirls. Instead the cakes turned out with craggy surfaces and hard lumps of muscovado sugar.

Gingerbread buns

As I sat in front of the oven watching the buns bake I questioned putting them on this blog. I thought that they were too imperfect. I didn’t go out into the rain to get more ingredients for a fresh batch (I couldn’t have done that anyway as I have to work) and I scolded myself for being lazy. I have this idea in my head that other baking bloggers work weeks perfecting their recipes instead of making it once and hoping for the best (I don’t know if this is true or not).

Then I realised- this could be a teaching opportunity. I could take these perfectly good cakes and turn them into something unique. I knew that I couldn’t cover the crags with icing, so I decided instead to enhance them. This choice was inspired by the Japanese art of kintsugi, in which broken crockery is repaired with molten gold. Instead of disposing of a broken bowl or plate, it is made even more beautiful than it was before. I love the way the gold icing makes delicate patterns on these buns as it flows through the cracks.

Gingerbread buns

The buns themselves are spicy, with little chewy nuggets of stem ginger and a deep background flavour of treacle. I made the icing with a little fresh lemon juice and some almond extract- water alone would be fine if you prefer a plain icing but I think the sharp lemon flavour with the rich almond is delicious.

Gingerbread buns

Gluten free Gingerbread Buns: (makes 12)

170g gluten free self-raising flour

170g butter

3 eggs

55g dark brown sugar (fresh is best to avoid lumps)

55g treacle

Stem ginger in syrup (I used 4 balls, chopped finely)

1 tsp each of cinnamon, ginger, nutmeg and allspice

For the icing:

100g icing sugar

2 tsp lemon juice

1 tsp almond extract

Edible gold dust

  1. Place paper cases into a 12-hole tin and preheat the oven to 180 degrees.
  2. Cream the butter with the sugar, treacle and spices. To make measuring the treacle easier, first measure your sugar in your measuring bowl and then add the treacle on top of the sugar. When you pour the two into your mixing bowl then the treacle will slide right off on the sugar instead of sticking to the bowl.
  3. Add the flour and eggs to the butter mixture and combine. Lastly, fold in the chopped stem ginger.
  4. Fill the paper cases evenly and bake the cakes for roughly 12 minutes. The tops of the cakes will be firm to touch and an inserted toothpick will emerge clean.
  5. Whilst the cakes cool. combine your icing ingredients with a very small amount of water until you have an icing which is suitably golden and not too runny. Add the liquids slowly until you are happy with the texture.
  6. I then cut the end off a piping bag to make it smaller and filled the piping bag with the icing. I cut the very end off the piping bag in order to make a very small hole to pipe through.
  7. Pipe the icing into the cracks on your cakes.