Chicken and Chorizo Pasties

Chicken and Chorizo pasties

Pastry isn’t something I’ve tackled much in my baking, even before I became gluten free. I’ve always been more interested in cake. My efforts to make gluten free pastry, or even to use the ready-made stuff in the supermarket, haven’t gone very well so far.

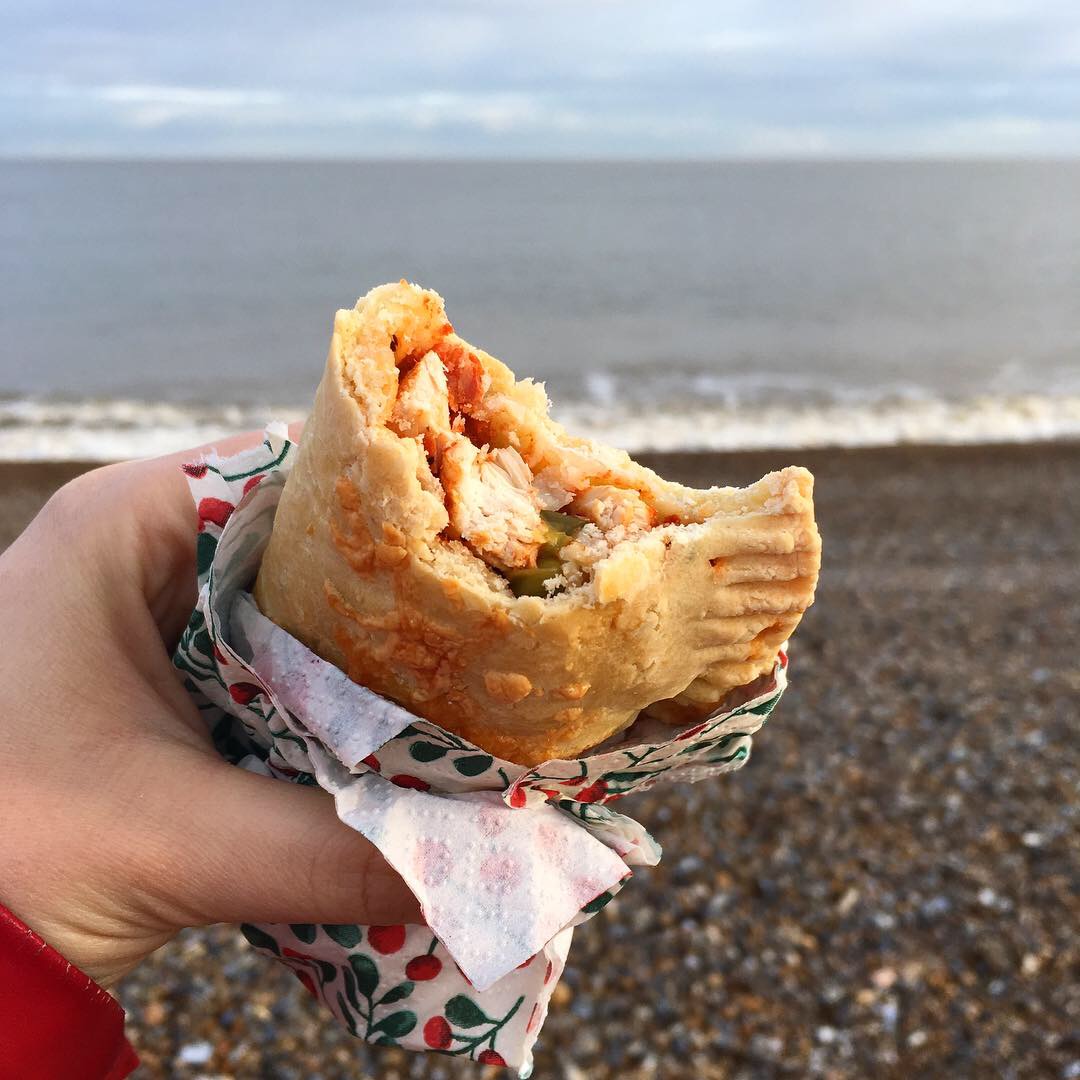
I don’t usually like to eat pastry either, if I’m honest. There’s no real reason behind this I suppose, it’s just a matter of taste. The one type that I really like, however, that I’ll never turn down, is a crispy hot-water crust, the type that covers pork pies and pasties. When I went on a solo trip to St Ives a few years ago I was delighted to see that there were loads of gluten-free options, including cream teas and pasties. There’s nothing better to warm you up on a chilly beach than a hot pasty; portable, filling, and versatile.

Chicken and Chorizo pasty

The traditional filling of a Cornish pasty, with chunks of beef, potato, turnip and onion, is perfectly tasty: I’m not trying to suggest that the recipe can be improved on! This is just another twist on a classic with a tasty filling. I suppose the filling is more like an empanada- versions of this filled pastry exist throughout South America and Europe. In truth, many cultures around the world have their own rough version of this sort of food. If there’s anything the human race can agree on, we love to take tasty things and encase them in dough.

This recipe is a fair bit of work, but I think the result is worth it. The pastry recipe is not entirely my own, I followed Jamie Oliver’s and it worked very nicely. https://www.jamieoliver.com/recipes/vegetables-recipes/gluten-free-veggie-pasties/  

Chicken and Chorizo pasties

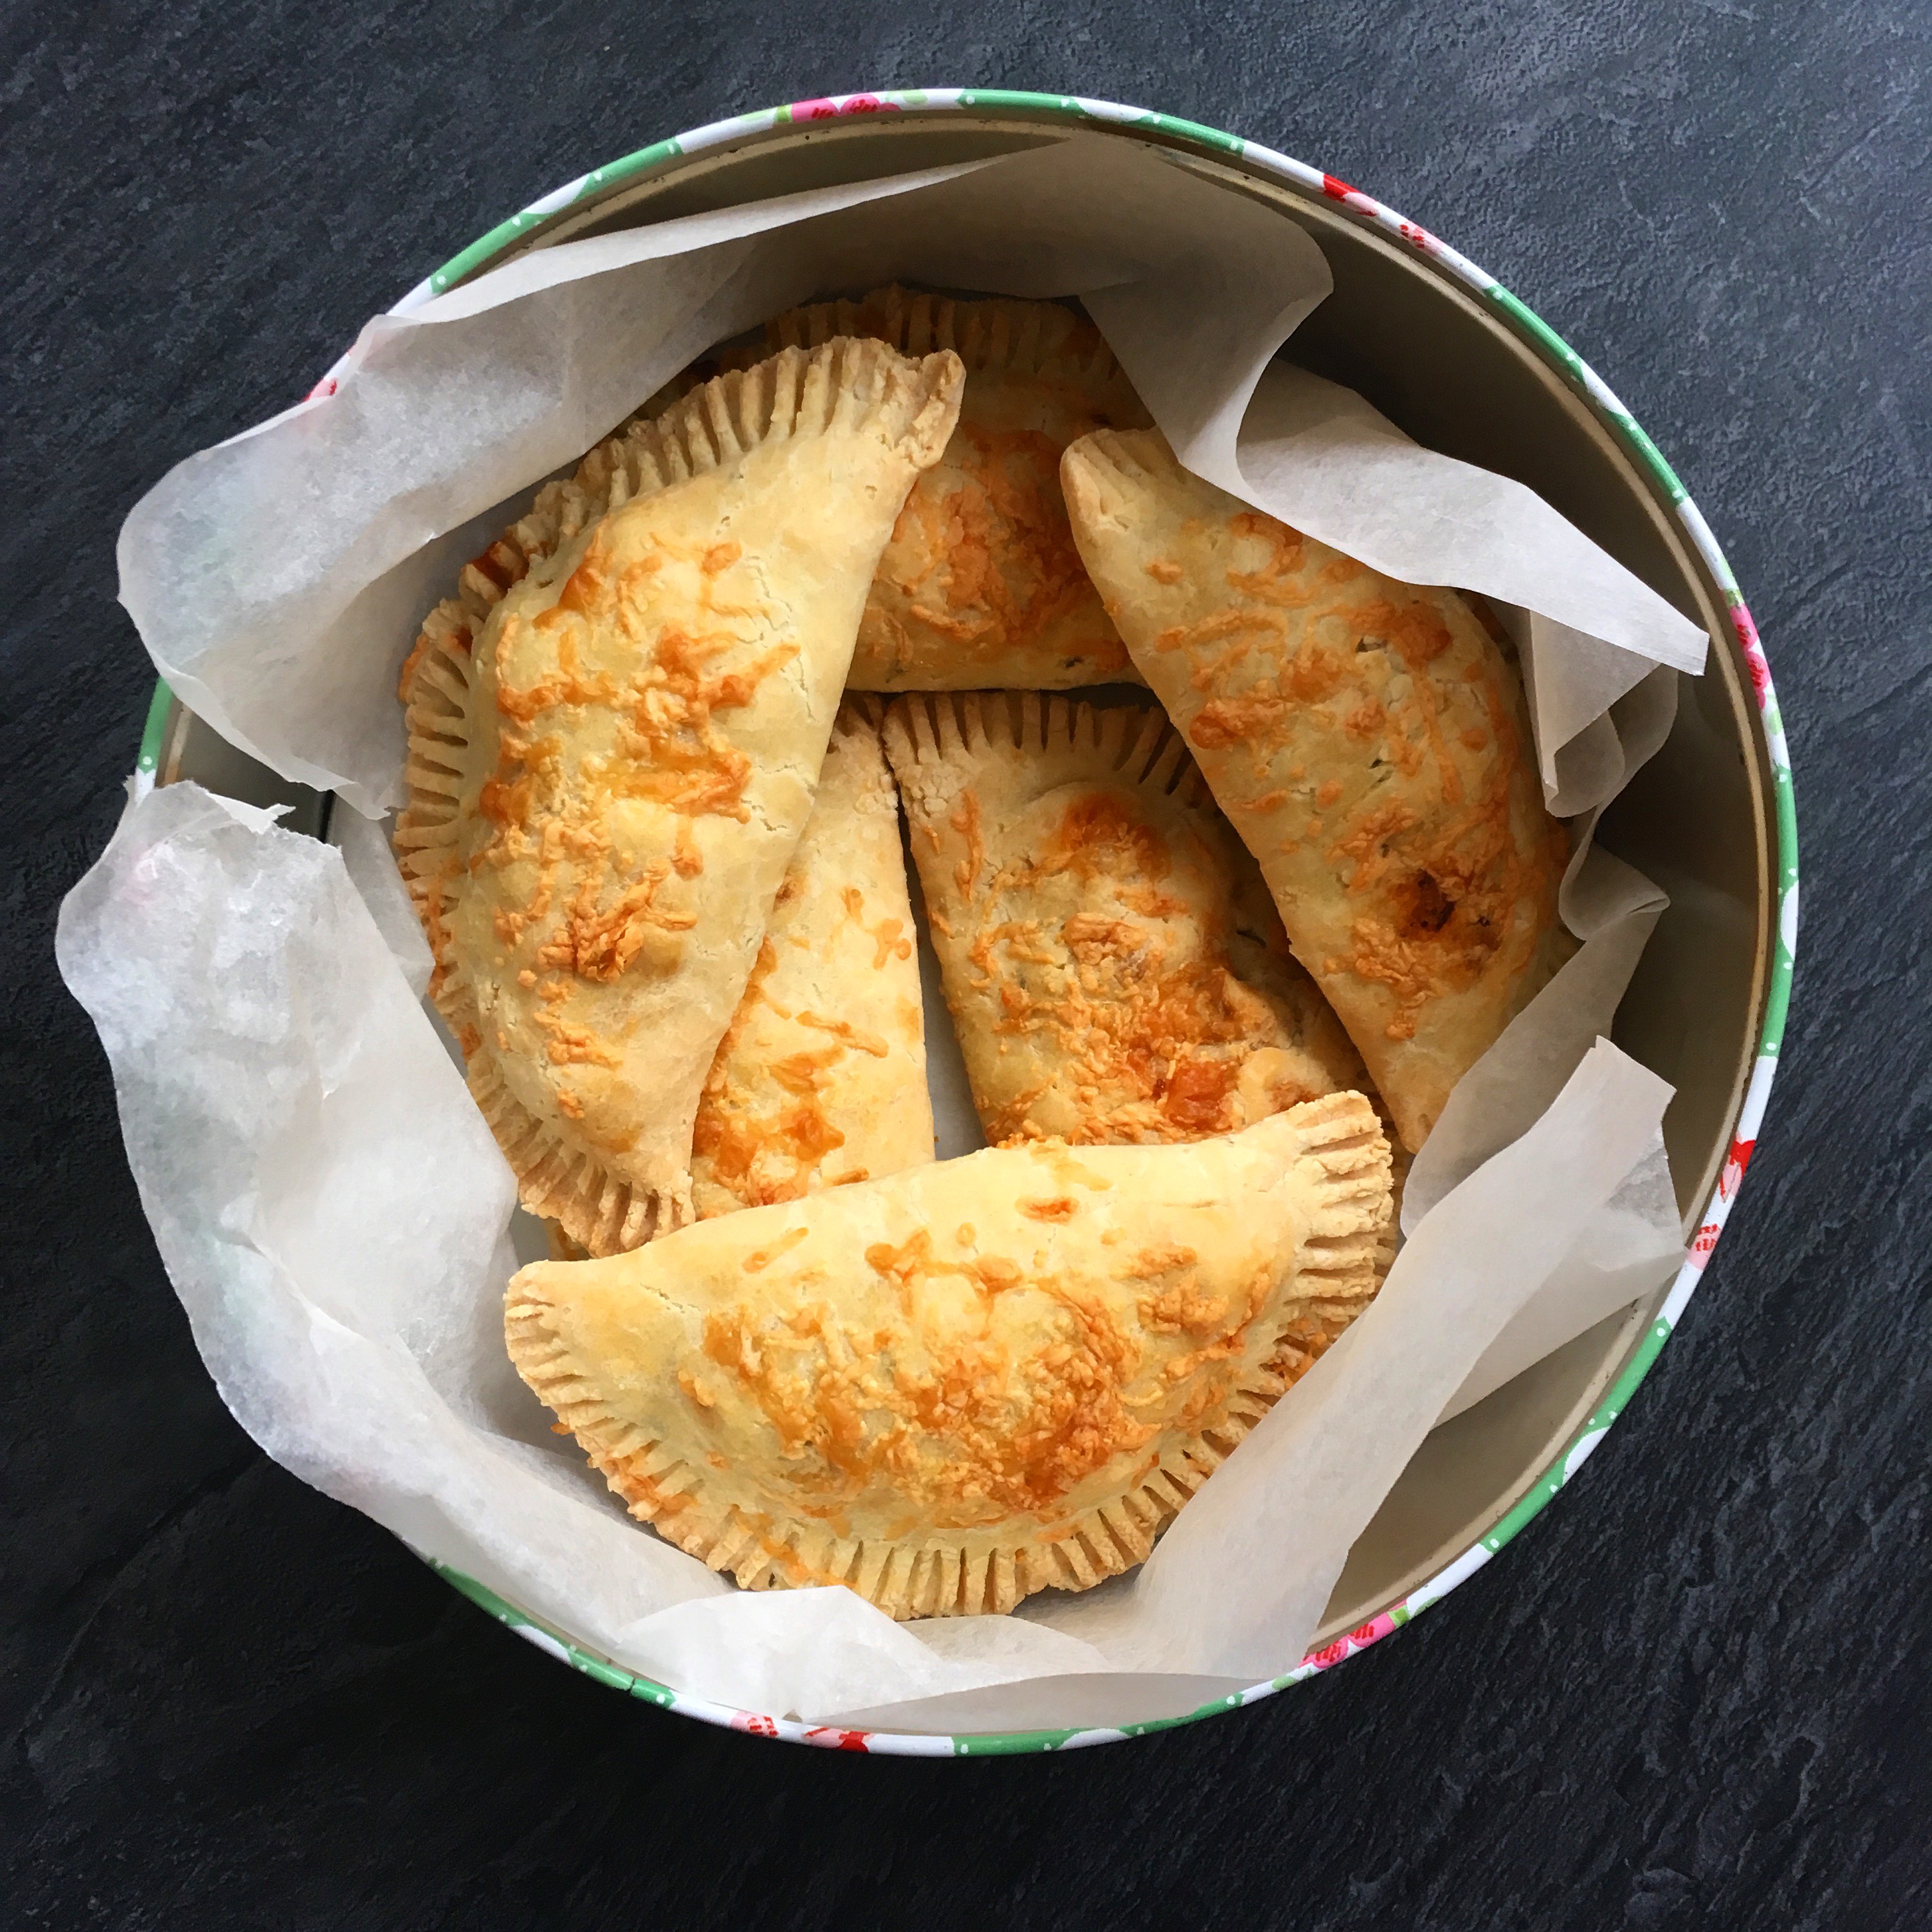
I also added some fresh thyme leaves to the pastry. I noticed that as the pastry was resting it got a bit crusty on the outside. Don’t worry, this doesn’t make a difference to the finished product. I improvised the filling with ingredients that I like. The pastry is crisp and cheesy, and the filling is tasty, savoury, and a bit spicy. This recipe would make 24 mini pasties, great for picnics or parties, or 12 larger pasties which make for a nice light meal.

Chicken and Chorizo pasty filling

Chicken and Chorizo Pasties (GF)

For the Pastry:

600g gluten free plain flour

2 tsp salt

2 tsp xanthan gum

100g butter

2 eggs (and 1 more for the egg wash)

2 tsp thyme

75g cheddar cheese, grated

For the filling:

150g diced cooking chorizo

320g chicken breast

1 green pepper

6 cherry tomatoes

1 tbsp tomato puree

75g frozen peas

1 tsp thyme

1 tsp mixed herbs

1 tsp something spicy (I used a cajun spice mix)

  1. To make the pastry, melt the butter in a pan with 260 ml of water. Bring to the boil and leave to cool slightly.
  2. Sieve the flour, xanthan gum and salt together into a large bowl. Add two beaten eggs and the thyme and stir to combine. Pour in the butter water mixture and stir again until the dough comes together into a ball. Cover the dough and leave it while you make your filling.
  3. First, fry the diced chorizo over a high-medium heat for about five minutes, then place the chorizo on a plate and set it to one side, reserving the red oil in the pan.
  4. Chop the chicken into small chunks and fry it in the chorizo oil for about six minutes until cooked through. Place the chicken on a plate and put it to one side. Blot the remaining water and oil out of the frying pan.
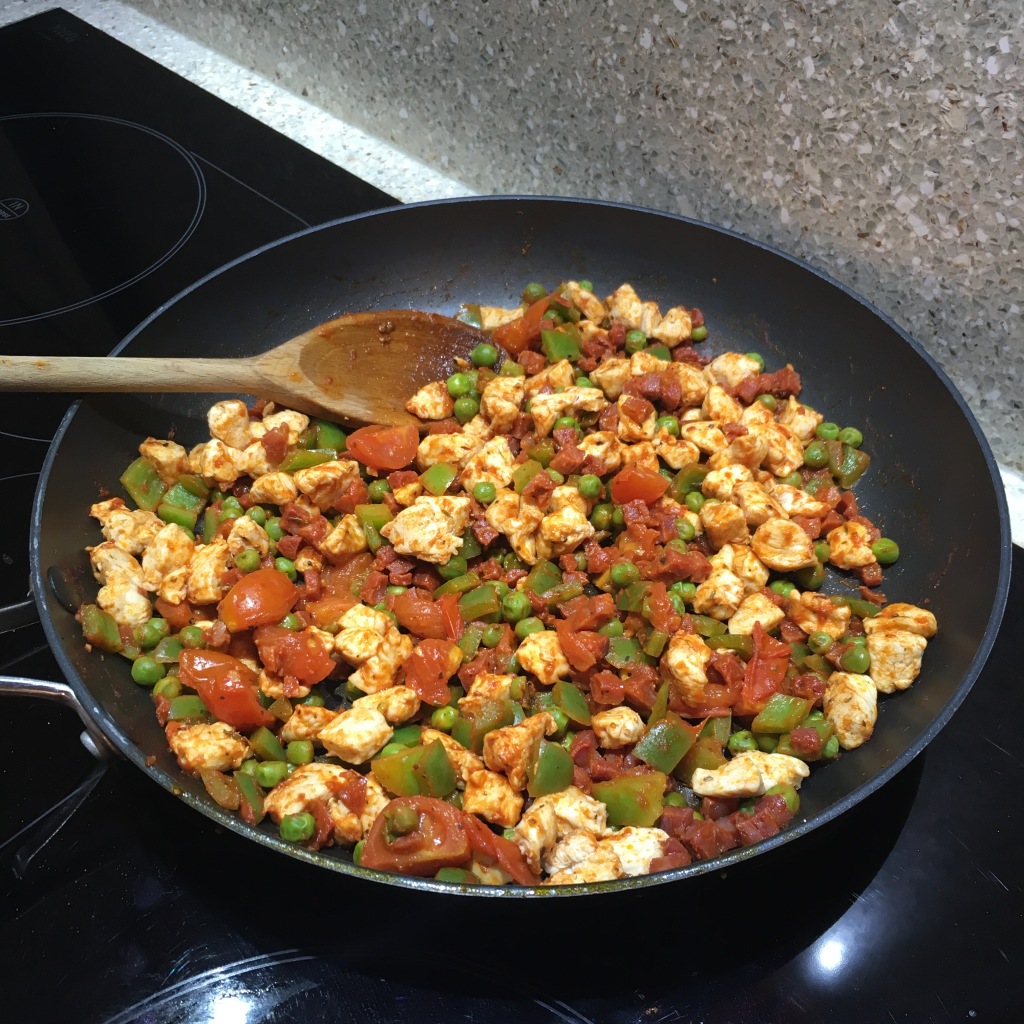
  5. Dice the green pepper and slice the cherry tomatoes into quarters. Add these to the frying pan with the tomatoes puree, herbs, spices, and a dash of water. Season and cook down for about six minutes until the tomatoes have softened and the water has been evaporated. Add the chicken and chorizo back into the mixture and stir to combine.
  6. Preheat your oven to 180 degrees and prepare a large tray with baking paper.
  7. Separate your dough into even balls (24 for mini pasties, 12 for full size). I sandwiched each dough ball between baking paper before rolling them into circles. The dough should be fairly thin, but not so thin that it will be difficult to form the pastries, about the thickness of a pound coin.
  8. Add around two spoonfuls of mixture to the centre of the dough circle (teaspoons for mini pasties, dessert/cereal spoons for full size). Fold the pastry over the filling into a semicircle and press the edges together. You can use a fork to give the edges a nice crimp.
  9. Place your pasties on the baking tray and cover them with egg wash and grated cheddar. Bake them for half an hour- they should be crisp and golden. Best eaten warm. SAFETY WARNING: unfortunately, as the meat has already been cooked twice, you should not reheat these pasties once they are cooked.

Mini sweet and savoury Dutch babies

This week I find myself in a bit of a challenging situation. I’m staying with my boyfriend for a few days. That’s not the challenging bit…it’s the fact that he owns no baking apparatus. No scales, no mixer, not even any oven gloves. He doesn’t mind this arrangement, but I’ve got a baking blog to uphold.

I could have brought some of my own equipment across the length of the country, but I decided not to. Instead I am going to make recipes to the best of my ability, following my baker’s instinct, and then guesstimate the quantities in my recipes. Not only that, I decided to make a recipe today which I’ve never made before.

Mini Dutch babies

Dutch babies, or Dutch pancakes, are a cross between pancakes and Yorkshire puddings. The cooking process is the same as for Yorkshires: you heat a muffin tin in the oven, pour in some melted butter, and the pancake batter, which should puff in the oven. I’ve never made a Yorkshire pudding before, but I’ve certainly made pancakes enough times to know what a pancake batter should look like.

I suppose what I’m trying to show with this recipe is that you can create something tasty (and dare I say, a bit elegant in a chunky sort of way?) with very little equipment and few ingredients. The batter itself consists only of butter, flour, milk and eggs, and then the fillings are up to you.

I decided to create a sweet and savoury version, filling one half of the batch with garlicky wilted spinach, goats cheese, and a red pepper sauce. This was inspired by my travels in Montenegro, where I ate a lot of Dalmatian stew: wilted chard with garlic and soft chunks of boiled potato. I couldn’t find any chard in the supermarket but spinach works nicely as a substitute.

Mini Dutch babies with goats cheese, spinach and red pepper

I decided to simply top the others with some sliced berries and yoghurt flavoured with a little cinnamon and maple syrup. These would be great if you were doing breakfast for a lot of people (less time consuming than making endless pancakes over a stove). If you choose to make sweet ones only, add one tablespoon of sugar into your pancake batter.

Mini Dutch babies with yoghurt and berries

The Dutch babies, once baked, are golden and crispy on the outside, but soft in the middle. Mine didn’t all develop a dip in the middle as expected. I hesitated to hollow them out myself because that seemed wasteful, but it’s necessary if you want to place your filling inside.

It was great to try something new, and I’ll definitely be making this recipe again. I think they could be nice rolled in cinnamon sugar after baking. Make this recipe yourself if you’re keen to try something new, or if you’re stuck somewhere without any scales.

Gluten Free Dutch Babies (makes 12):

1 mugful gluten free self raising flour

4 tbsps melted butter or alternative (I used sunflower oil spread)

3 eggs

1 mugful milk or alternative

1 tbsp sugar (if making sweet pancakes only)

Savoury (makes 12):

150g soft goats cheese

125g marscarpone

1 clove garlic

200g spinach

Red pepper dip

Sweet (makes 12):

Berries of your choice (I used strawberries and blueberries)

Unsweetened Greek full-fat yoghurt

Maple syrup

Cinnamon

  1. Place a muffin tin in your oven and set it to 200 degrees fan.
  2. Start by preparing your fillings/garnishes. For the savoury fillings: finely mince the garlic clove and place it in a frying pan with a little oil on medium heat until the garlic becomes fragrant. Add the spinach and stir until it is wilted. Place the spinach into a sieve and press some of the water out with a spoon. Set the spinach aside for later.
  3. In a separate bowl, mix the goats cheese with the marscarpone and season with salt and pepper. Set aside.
  4. If you’re making sweet pancakes, mix some yoghurt with maple syrup and cinnamon to taste. Slice the berries and set aside.
  5. To make the pancakes whisk two tablespoons of the melted butter with the other ingredients.
  6. Carefully bring the hot muffin tin out of the oven and pour some of the remaining butter into each section. Then pour the batter into the tin so that each section is about two thirds full.
  7. Bake for 15 minutes. They should be puffy, golden and crisp. When they’re done, they may be a bit greasy from the butter, so put them on a piece of kitchen paper to soak up any grease before filling them.

Cheddar pepper flapjacks

I had the idea for this bake in the best place to have ideas: the shower.  I decided that I wanted to bake something savoury so that my family and I would not be drowning in cake come Christmastime (although come to think of it that sounds like a great way to go). 

For whatever reason, I recalled the cheesy, savoury flapjacks that my mum used to make me for my school bag.  I know that you might be confused and mildly disgusted by this idea, but once you get your head (and your mouth) around these treats I think you’ll change your mind (unless you’re a cheese hater, but I don’t tend to socialise with those sorts of people).  

Cheddar pepper flapjack with pumpkin seeds

Some things I like about this bake (besides the fact that it’s delicious) is that it’s versatile, low cost and easy.  I know that my last recipe was bit complex.  This one is definitely for beginners, students short on money who want to make their own snacks, and anybody who’s ever wanted to eat oats glued together with cheese. 

Cheddar pepper flapjack with pumpkin seeds

I added pumpkin seeds, mostly because we had them in the cupboard and I thought they’d add a nice bit of colour.  I had the idea to position some seeds on the top; I think they look a bit like fir trees (you might disagree, I won’t blame you).  Upon munching my first helping, I also realised that the seeds add a nice vegetal freshness to a treat which could be too rich otherwise.  The herbs and paprika also give the flapjacks a savoury depth as well as adding to their golden colour.  

Cheddar pepper flapjack with pumpkin seeds

Feel free to add different seeds and flavourings, or even try a different hard cheese.  Great for lunchboxes and picnics, and, I like to think, leaving out for Father Christmas on the night before Christmas.  He’s probably fed up of mince pies by now.   

Cheddar Pepper Flapjacks:

360g pure oats (I use these because I’m gluten intolerant, if you’re not then use regular oats)

340g cheddar

3 eggs

125g butter

2 tsp dried mixed herbs

2 tsp smoked paprika

2 tsp ground black pepper

Handful of pumpkin seeds

  1. Preheat the oven to 180 degrees and line a large roasting dish with baking paper.  Personally, I like the baking paper which has foil on the other side so it’s easy to mould to the pan. 
  2. Grate the cheese.  Please don’t hurt your fingers when you do this.  If little lumps of cheese fall in, it’s ok.  These will be bonus pieces and make the flapjacks even better.
  3. Gently melt the butter.
  4. Once the butter is melted, mix all the ingredients together in a large bowl.
  5. Put the mixture into the roasting pan.  Spread it out evenly and press it down.  If you wish, you can use seeds to make a pattern on your flapjack as I did.  They will brown a bit in the oven but they’ll still look (and taste) good.
  6. Bake for 35 minutes until the flapjack is golden all over and the sides are shrinking away from the paper.  Enjoy the cheesy smell which fills your kitchen.